

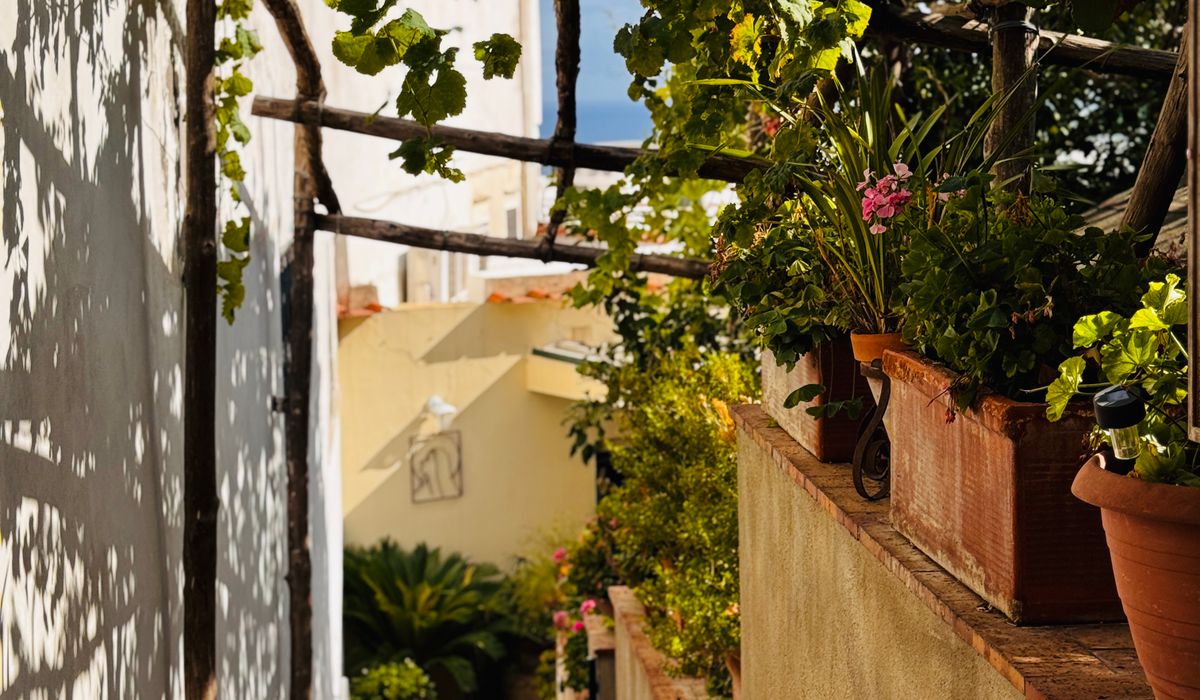
How to measure for a retractable awning
Start with the two numbers that matter
Every retractable awning is sold by two measurements: its width and its projection. Width is how far the cassette runs along your wall, from bracket to bracket. Projection is how far the fabric reaches out from the wall when the awning is fully extended. Get those two right and you have done most of the hard work. Get them wrong and you will either be shading a patch of patio nobody sits on, or trying to squeeze a cassette into a gap that is 40 mm too narrow.
Before you go near a tape measure, decide what you want the awning to do. Shade a bistro table for two, cover a full dining set that seats eight, or shelter a doorway from driving rain? That decision drives the size, and it is much easier to make sitting in the garden with a cup of tea than standing on a stepladder with a notebook.
Measuring the width
Work along the wall at the height where the awning will actually be fixed, not at ground level — brickwork, render and cladding are rarely as straight as they look. Measure the full span you want to cover, then measure it again at a few points along the run and take the narrowest figure.
- Covering a patio door or window: measure the outer edges of the frame and add at least 150 mm each side so the awning oversails the opening.
- Covering a seating area: measure the width of the table plus chairs when pulled out, then add a little breathing room.
- Filling a gap between two walls: measure the tightest point. A cassette needs a few millimetres of clearance at each end or you will be chiselling render to fit it.
Awnings come in set widths rather than made-to-measure sizes, so note the figure you need and be prepared to round down rather than up. A cassette that overhangs the space by 200 mm will look clumsy; one that is slightly under will not.
Working out the projection
Projection is the measurement people underestimate. As a rule of thumb, an awning casts useful shade for roughly its own projection measurement, angled with the sun. A 2 m projection gives comfortable cover for a small table; a 3 m projection starts to feel like an outdoor room.
Do not just pick the largest projection available. Two things limit it:
- Available space: mark the projection on the ground with a cane or a length of string. Walk around it. Does it reach the flower bed, the fence, next door's conservatory?
- Drop at the front: the fabric slopes downwards from the cassette, so the front bar sits lower than the wall fixing. The drop increases with projection — typically 150 to 300 mm on domestic sizes. If you have a low soffit, this is the number that catches people out.
Fixing heights and headroom
For anything you walk under, aim for a minimum of 2.2 m from ground level to the underside of the cassette. That gives most adults comfortable clearance without stooping. If the awning is going over a door, mount the cassette roughly 250 to 300 mm above the top of the door frame, and check that the retracted cassette does not foul the door as it swings.
- Measure from the ground to your fixing line, and check the ground is level across the full width — a sloping patio changes your headroom by the time you reach the far bracket.
- If mounting under a soffit or balcony, measure the available vertical space carefully. Cassettes are commonly 150 to 200 mm deep and 150 to 250 mm tall.
- Check the awning's front bar will clear outdoor furniture, planters and garden lighting when extended.
Cassette width, brackets and clearance
The fabric width is not the same as the cassette width. End caps, motor housings and the brackets themselves all add to the overall footprint, so allow roughly 100 to 150 mm of extra width beyond the fabric on a cassette awning. Brackets normally sit inboard of the cassette ends, which means the wall fixings are closer together than the unit's total width — useful when you are working around a downpipe.
Allow clearance in three directions: at each end of the cassette, above it if it sits under an overhang, and in front of it so the front bar can travel. A common mistake is fitting an awning tight beneath a gutter, then discovering the front bar cannot tilt as intended.
Checking the wall and the space around it
Finally, walk the fixing line and look for anything in the way. Downpipes, outside taps, security lights, hanging brackets, air bricks and satellite cables are all common obstructions, and any of them may force you to shift the awning along or mount it on brackets that stand it off the wall.
Consider the wall itself, too. Solid brick, blockwork and timber framing all take fixings well. Thin cladding, insulated render systems and cavity walls may need specialist anchors or a spreader plate, and it is worth establishing what you are drilling into before you commit to a position. Also check for hidden pipes, cables and vents — a quick look inside the house will usually tell you where services run.
Measure twice, mark your bracket positions with a spirit level and a pencil, and stand back to look at the line before you drill. Ten minutes with a tape measure now saves a great deal of swearing later.


Garden Sheds
-
Remove leaves and dirt with a soft brush. Use a mild cleaner, rinse well and let the awning dry fully before retracting.
Gazebos



-

Long established fact that a reader will be distracted
-

Long established fact that a reader will be distracted
-

Long established fact that a reader will be distracted

Summerhouses
Karla Gleichauf
12 May 2017 at 05:28 pm
On the other hand, we denounce with righteous indignation and dislike men who are so beguiled and demoralized by the charms of pleasure of the moment
M Shyamalan
12 May 2017 at 05:28 pm
On the other hand, we denounce with righteous indignation and dislike men who are so beguiled and demoralized by the charms of pleasure of the moment
Liz Montano
12 May 2017 at 05:28 pm
On the other hand, we denounce with righteous indignation and dislike men who are so beguiled and demoralized by the charms of pleasure of the moment