

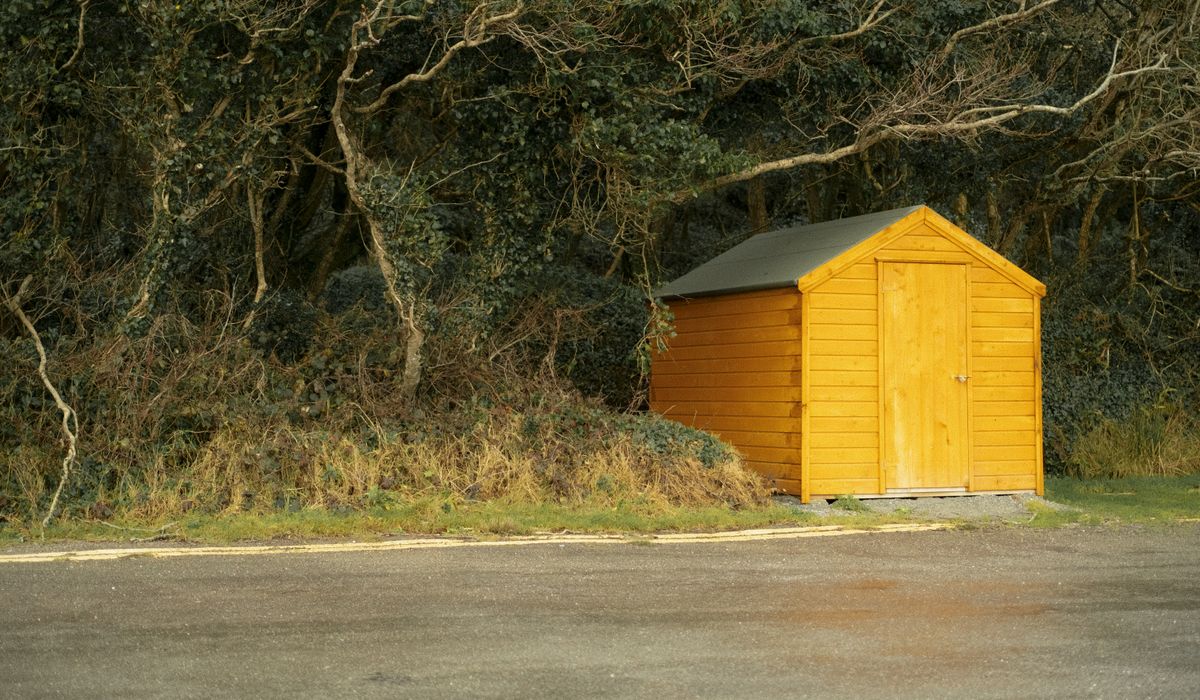
Best ways to organise a small garden shed
A small shed can be one of the most useful spaces in a garden, and one of the most frustrating. Half an hour of rummaging for a trowel, a bag of plant food or the secateurs you know you put down somewhere sensible is enough to put anyone off gardening. The good news is that a shed roughly two metres square can hold far more than most people think, provided you use the walls, the height and a bit of logic.
Empty it, sort it, then decide what stays
Before you buy a single hook, take everything out. All of it. Lay it on the lawn or the patio in loose groups: cutting tools, planting kit, pots, chemicals, pots and compost, power tools, paint, bikes and toys. This is the only moment you will have a clear view of what you actually own, and it is usually a surprise.
Be honest about the things you have not touched in two years. A blunt saw, a broken hose reel and a rusty spade with a split handle take up the same room as the tools you use every week. Bin, repair or pass on anything that fails that test, then measure the internal space properly, including the height to the roof apex. Jot down the door opening too, because a shelving unit that will not fit through it is no bargain at all.
Make the walls carry the weight
Floor space is precious, so treat the walls as your main storage. A horizontal rail fixed to the back wall, with a mix of hooks and clips, will hold spades, forks, rakes, hoes and brooms with their handles down and their heads at the bottom. This is safer than standing long-handled tools in a corner, where they lean, slip and clatter every time you reach past them.
- Long-handled tools: hang on a rail at roughly chest height, spaced so heads do not tangle.
- Ladders and canes: two heavy-duty hooks near the roof, or brackets along the side wall.
- Hand tools: a small rail above the workbench with individual hooks, so each pair of secateurs has its own home.
- Hoses and extension leads: a wall-mounted reel, never a loose coil on the floor.
- Bikes and wheelbarrows: a hook-in bracket to lift the front wheel clear of the ground.
Fix wall fittings into timbers or masonry plugs, not just the shed cladding, and check what is on the other side before you drill. A hook that pulls out under the weight of a full watering can is worse than no hook at all.
Choose shelving that suits the space
Shelf brackets and a pair of timber boards will almost always beat a ready-made unit in a small shed, because you can cut the boards to the exact width and set the depths differently at each level. Deep shelves at the bottom for bulky compost and pots, shallower ones higher up for seed trays, twine and small hand tools.
Use the full height. The triangle under a pitched roof is wasted in most sheds, yet it is ideal for a high shelf running the length of the gable end, holding things you need twice a year such as netting, fleece and spare pots. In a corner, a triangular shelf or a set of corner brackets makes use of a spot where nothing else fits.
Reserve one shelf at working height as a proper bench top, even if it is only sixty centimetres wide. Potting on, sharpening and filling the watering can all become easier when there is a flat surface with a lipped edge, and it stops you using the floor as a workbench.
Use clear boxes and label them honestly
Clear or translucent storage boxes are far better than opaque crates in a small shed, because you can see what is inside without lifting the lid. Choose stackable boxes in one or two sizes so they nest neatly on shelves, and keep heavy boxes low.
Label each box on the short end as well as the lid, so a box on a shelf can be identified from the doorway. A strip of masking tape and a marker pen does the job perfectly well. Keep damp-prone items out of cardboard, which softens and shelters mice, and consider a lidded plastic tub for anything that must stay dry, such as seeds, twine and fertiliser.
Group tools by task, not by category
This is the single change that saves the most time. Rather than storing all cutting tools together and all pots together, group items by the job they belong to. A seed-sowing box holds seed trays, compost discs, a small sieve, labels and a pencil. A pruning box holds secateurs, a pruning saw, gloves and oil. A lawn box holds edging shears, a half-moon and the lawn feed.
When everything for one task lives in one place, you pick up a single box and take it to the border. You spend your time gardening rather than walking back and forth, and you notice straight away when something is missing. Grouping by task also makes it obvious which categories have grown out of hand, which is usually pots.
Keep it working through the seasons
Pull everything out once in spring and once in autumn. Swap the items you will not need until next year to the high shelf, and bring the coming season's kit down to eye level. Sweep the floor, check for damp, and leave a gap along one wall so air can move around the shed.
A small shed will never feel spacious, but it can feel calm and quick to use. Hang what you can, shelve what you cannot, box the rest in clear containers, and arrange it all around the jobs you actually do. Then put the secateurs back on their hook the moment you have finished with them, and the whole system keeps itself tidy for years.


Garden Sheds
-
A summerhouse can turn an unused corner into a reading nook. Consider light levels, floor size and window placement before buying.


Gazebos




-

Long established fact that a reader will be distracted
-

Long established fact that a reader will be distracted
-

Long established fact that a reader will be distracted




Summerhouses
Karla Gleichauf
12 May 2017 at 05:28 pm
On the other hand, we denounce with righteous indignation and dislike men who are so beguiled and demoralized by the charms of pleasure of the moment
M Shyamalan
12 May 2017 at 05:28 pm
On the other hand, we denounce with righteous indignation and dislike men who are so beguiled and demoralized by the charms of pleasure of the moment
Liz Montano
12 May 2017 at 05:28 pm
On the other hand, we denounce with righteous indignation and dislike men who are so beguiled and demoralized by the charms of pleasure of the moment